CocosCreator doesn’t have a usable 2D lighting system for game development, so I implemented one myself based on my needs.
This is a convenient and easy-to-use 2D lighting system that works out of the box.
Store Link
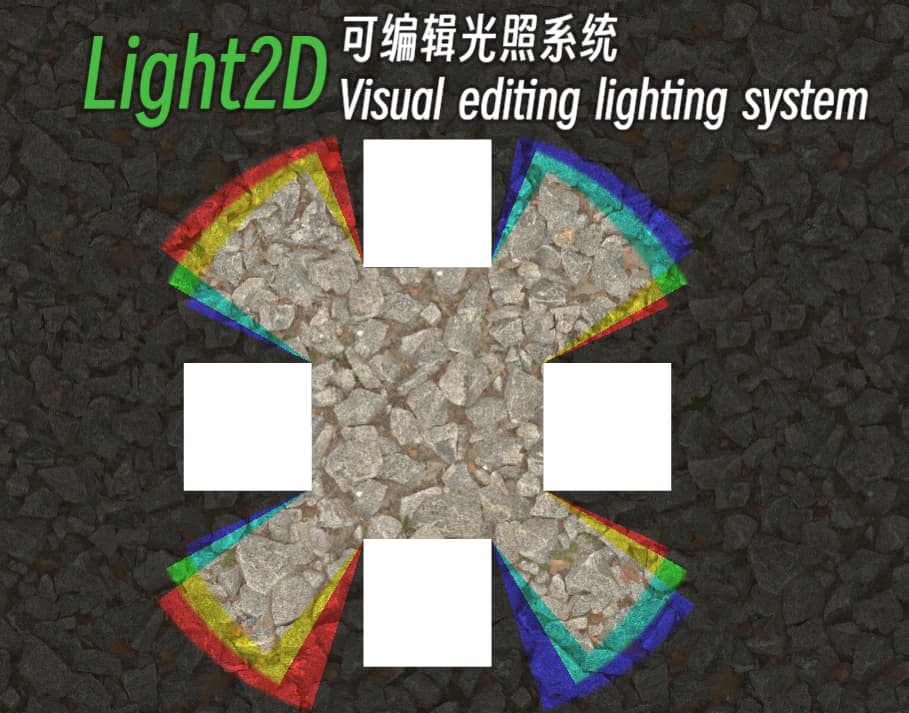
Light2D Visual editing lighting system
Web Demo Address
Click to check it out
Other plugins by the author
- 2D curve texture 3.x version, can achieve terrain similar to Hill Climb Racing
- 2D curve texture 2.4.x version
- Polygon sprite, arbitrary polygon texture rendering that can be batched
- RiveAnimation, load Rive format animation, supports WeChat and Douyin mini games
- SpriterAnimation, load animation exported by Spriter, supports all platforms
Supported engine versions
- Engine version: Cocos Creator 3.6.0 to 3.8.7
Features
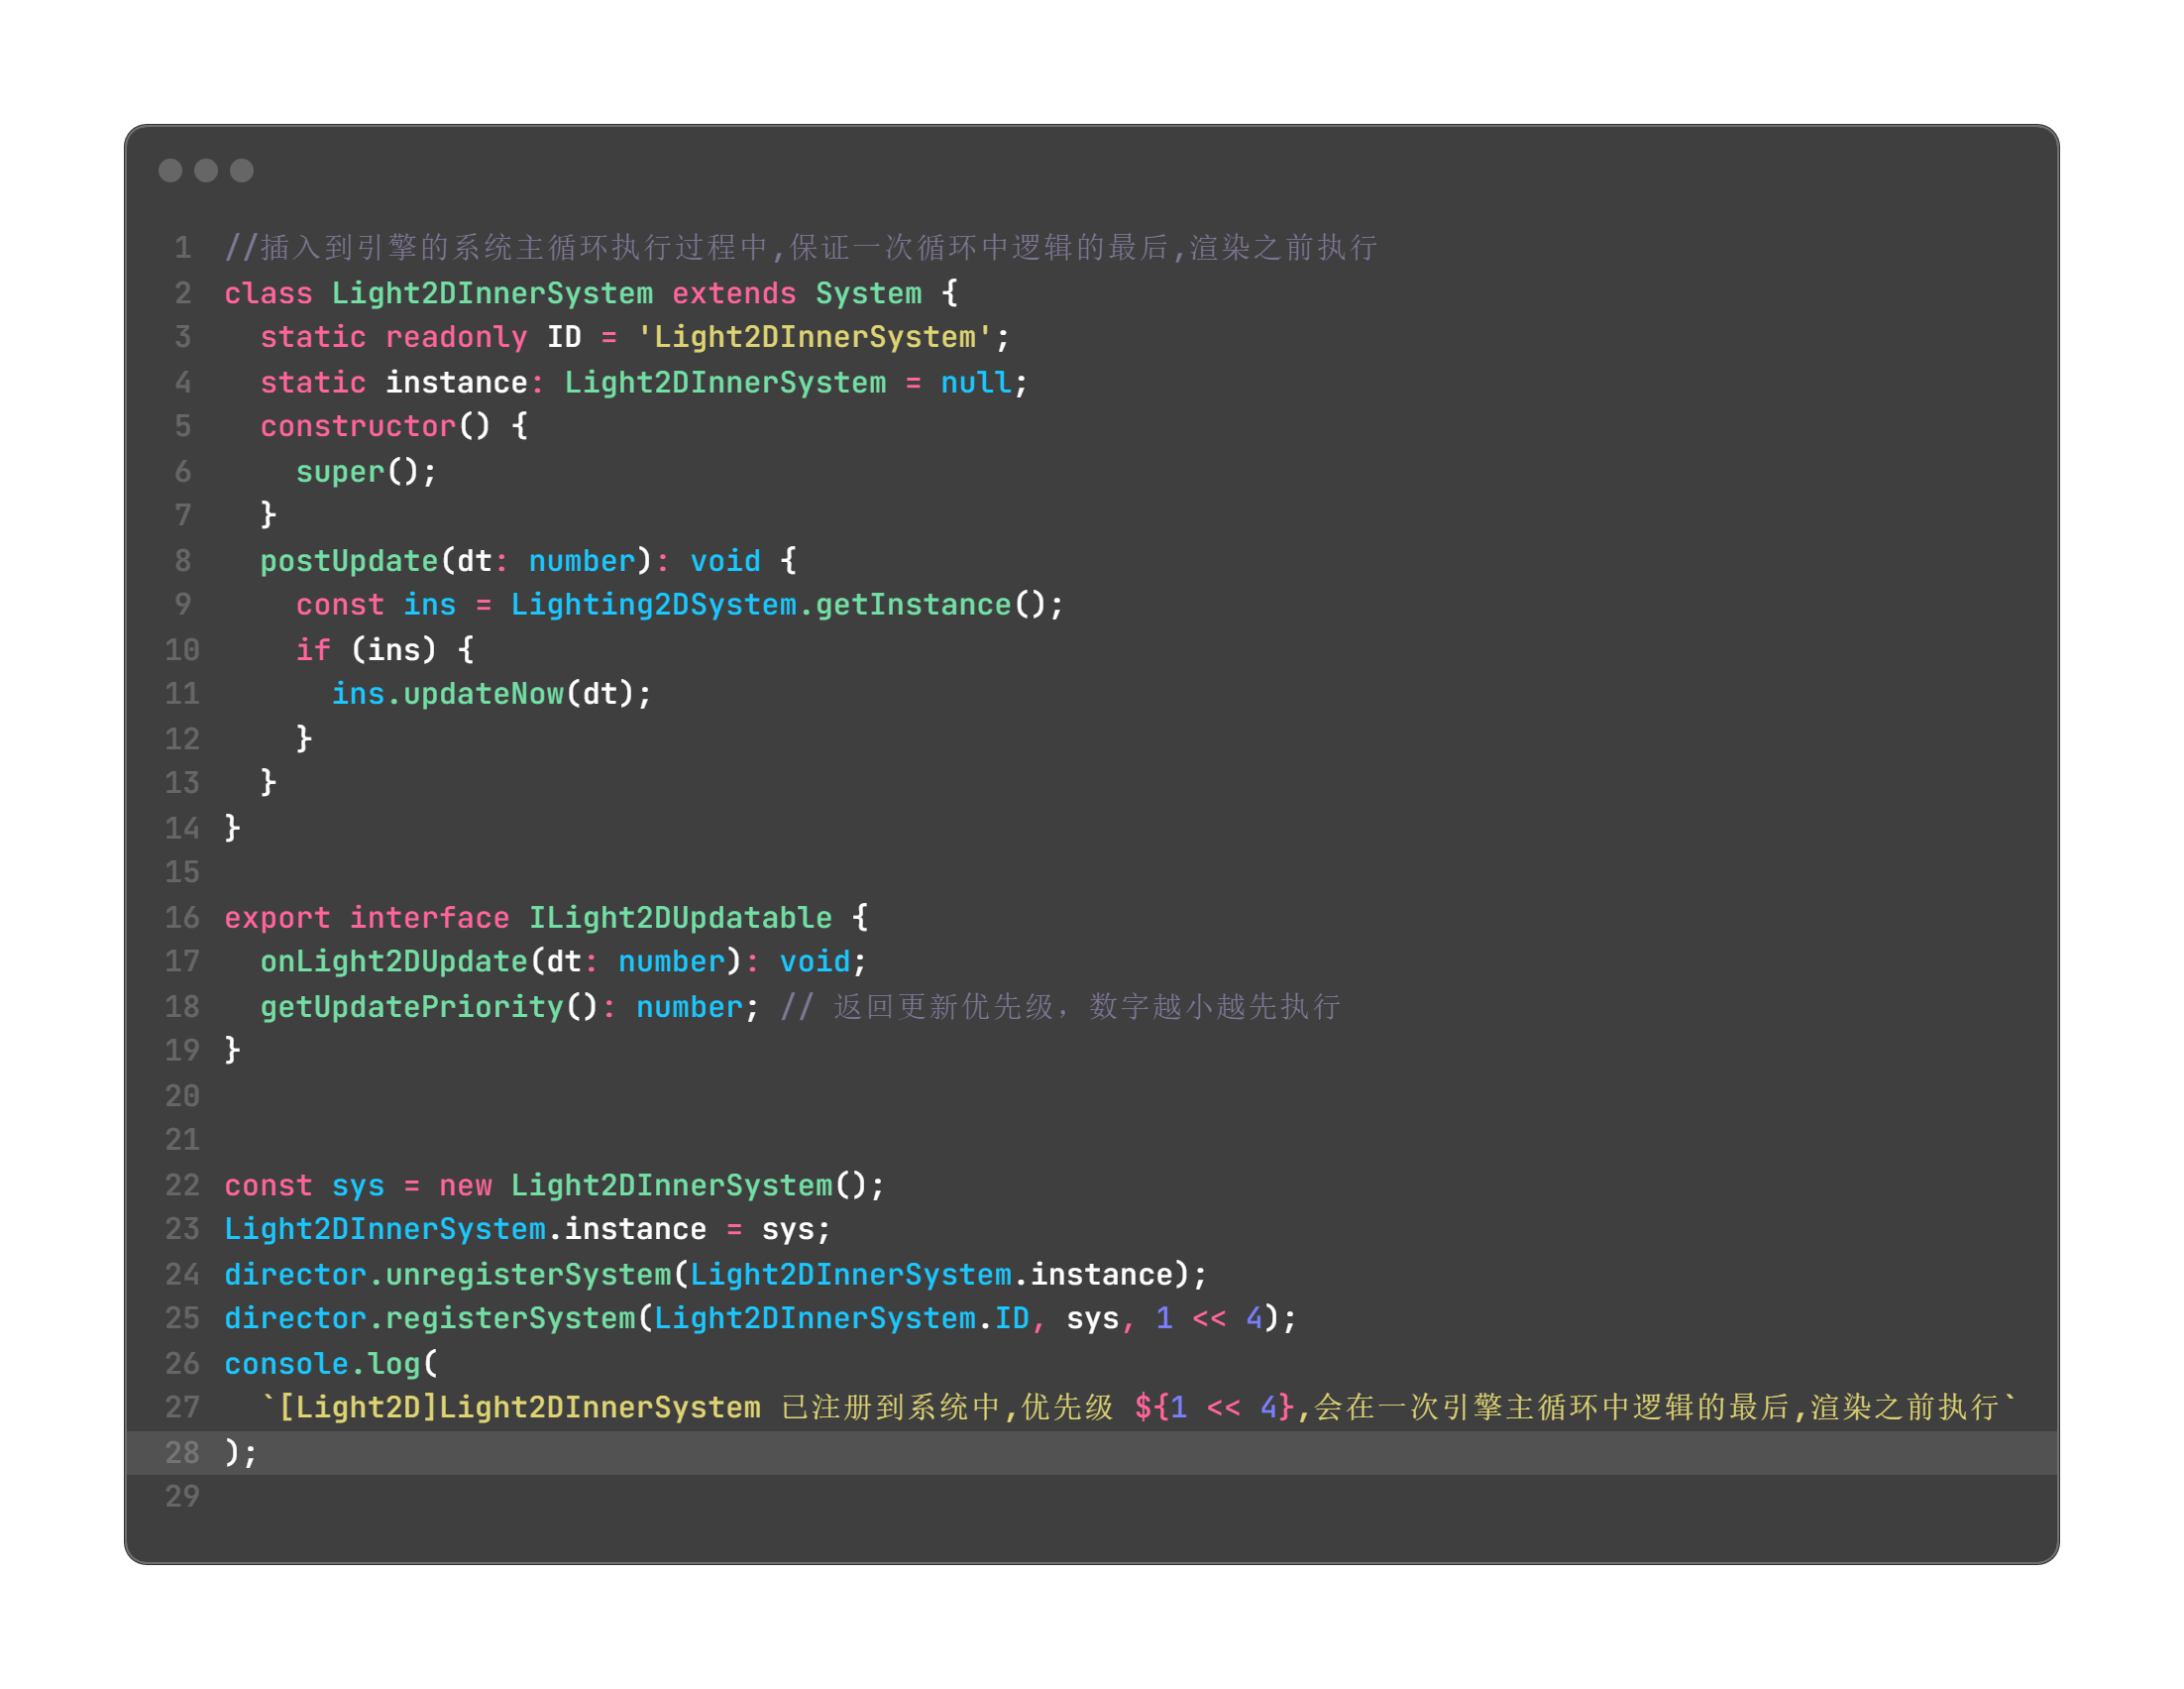
- The lighting system is registered into the engine’s main loop in the engine’s way, logic and rendering order are controllable.
-
All light source components can be visually edited in the editor, what you see is what you get.
-
Global ambient light
-
Point light
-
Spotlight
-
Sprite texture light source (use prefabricated textures to blend lighting brightness)
-
Regular rectangular light source
-
Regular polygon light source (regular polygons and circles)
-
Custom polygon light source (polygon vertices can be edited in the editor)
-
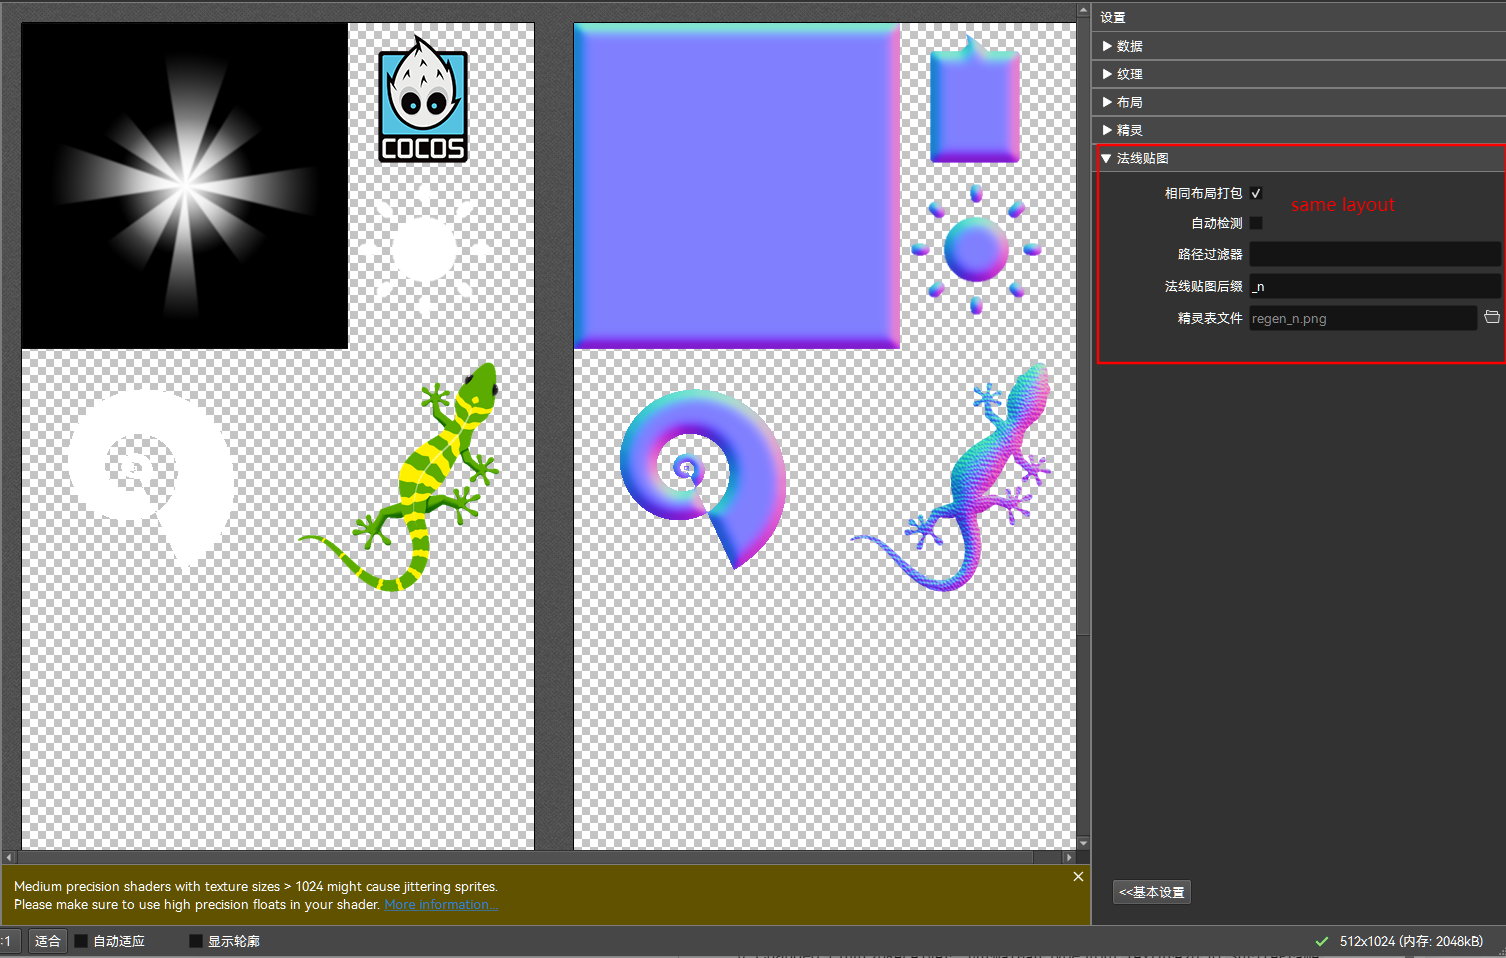
Supports setting normal maps, effective for all rendering components, such as Sprite or spine animation
-
Supports attaching any light source to any node or animation, such as Spine animation
-
Currently supports several major rendering components in the engine (Sprite, Label, sp.Skeleton/Spine, TiledLayer/TiledMap, dragonBones.ArmatureDisplay(DragonBones))
-
Optimized light source rendering data submission, no performance issues.
-
Great compatibility and optimization for rendering shader calculations, ensuring webgl1.0 (opengles2.0) can run, webgl2.0(opengles3.0) has better performance.
-
The author has tested the available running platforms and different performance levels of mobile phones, all can run normally without obvious performance problems.
Features to be optimized
- drawcall optimization will be updated in the next version.
- dragonBones will be updated in the next version.
Quick installation tutorial 
-
Plugin mode installation and usage
- After downloading the plugin, when importing, the plugin will automatically copy the
Light2DandLight2D-samplesfolders to the assets directory, and you can view the corresponding sample scenes in the editor.
- After downloading the plugin, when importing, the plugin will automatically copy the
-
Full project mode usage
- After downloading the plugin, there will be a complete sample project in the plugin package, such as
flashfin-light2d_Vxxx_CCC38X_Project.zip, you can unzip it and import it directly into the editor to view.
- After downloading the plugin, there will be a complete sample project in the plugin package, such as
-
Settings required after installation
- Enable
3D Basic FeaturesinFeature Cropping - Enable
Keep Scene Main Loop RunninginPreferences
- Enable
Super quick usage tutorial
- If your project already has game scene A
-
Copy the existing
LightSystemKeepnode to scene A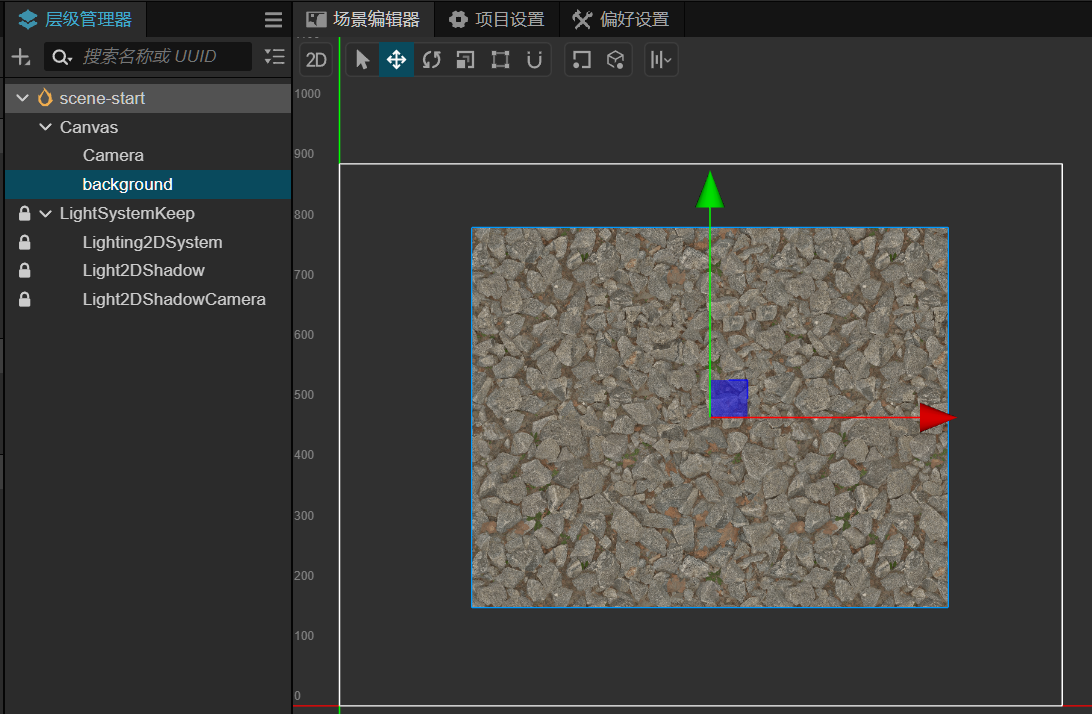
-
Set the main camera of scene A to the
Main Game Cameraproperty of theLight2DShadowCameracomponent
-
Add a Sprite node B in scene A, add a
Light2DReceiver(light receiver) component to node B, and the rendering result of B will be darkened (receiving the default ambient light).
-
Add an empty node C in scene A, add a
Light2DSource(light source) component to node C, and the rendering result will be a circular area illuminated.
-
Now you can run to see the effect, the running result is consistent with the editor.
-
Continue to add a Sprite node D in scene A, add a
Light2DObstacle(obstacle) component to node D, place node D within the illuminated range, and click run (shadow function is invalid in the editor), you will see shadows generated by the obstacle.
-
Add an existing script component
MoveWithTouchto the light source node C, click run, and you can drag node C to dynamically view the shadow.
-
The above is the basic usage of point light and shadow functions. For more features, you can open the sample scene to view.
Some recommended production tools
- Promote some useful tools, you can purchase if needed.
- The atlas making tool used in the plugin sample is TexturePacker
- The normal map making tool used in the plugin sample is SpriteIlluminator
Contact the author
- For any usage questions, please contact the author in time.
- flashfin@foxmail.com
- wechat: soida3